Silhouettes are such a great way to put a personal touch on absolutely anything (pillows, mugs, baby announcements, t-shirts, necklaces, etc...), so here's a tutorial on how to make a silhouette digitally with Photoshop so you can make all those things yourself! (You can do it in other photo editing software such as Picnik or Picasa--just follow the same instructions.)
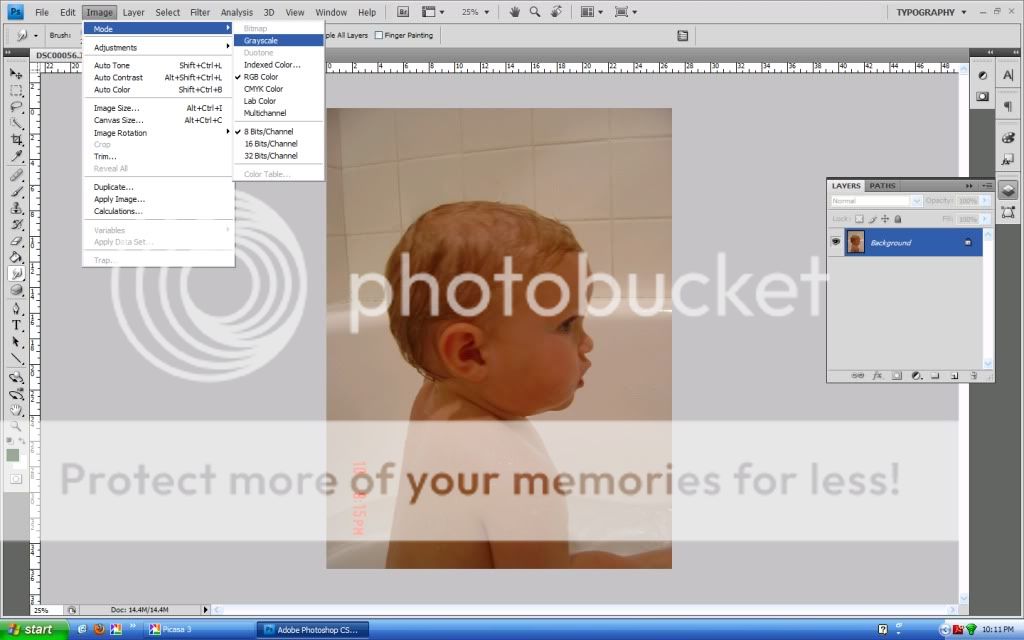
First take a picture of whoever it is you want the silhouette of (here's my boy in the bathtub...). Make sure the background contrasts the skin color.
You need to have the picture black and white, so put the image in Grayscale. Image>Mode>Grayscale

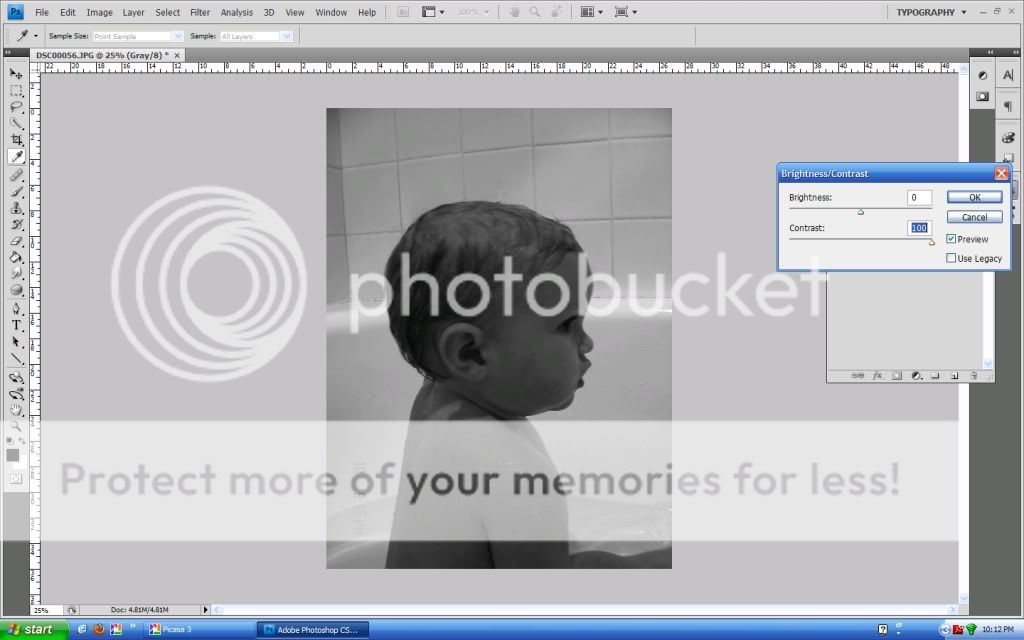
You then increase the contrast (put it to maximum contrast) in order to get a crisp outline of the person. You'll need to repeat this step a few times in order to get the person to be absolutely black. Image>Adjustments>Brightness/Contrast


You then need to click the Quick Selection Tool (looks like a magic wand on the left) so you can delete the background. You just hold down the mouse over the areas you want to delete and it'll select the areas that are similar (with a dotted line). Then click Delete. If you think you're going to delete the whole part, never fear, Ctrl-Z or Alt-Ctrl-Z will save you!


You could stop there and show the whole body, or you could edit it into the standard silhouette bottom.

Voila! Here is your silhouette to print onto transfer paper to put on a t-shirt or cut out and use as a template for anything!

1 comment:
you're amazing. that's all :)
Post a Comment